Tokyo Venture Café Photo Booth: Four-Cuts for Cards
The short answer
For an overseas startup event, pack an iPad, a mini booth, a photo printer, and photo paper in one suitcase and use one demo table. At Venture Café Tokyo, strips printed on the spot and went straight into people's hands with no contact swap, and the frame carried the event name and date.
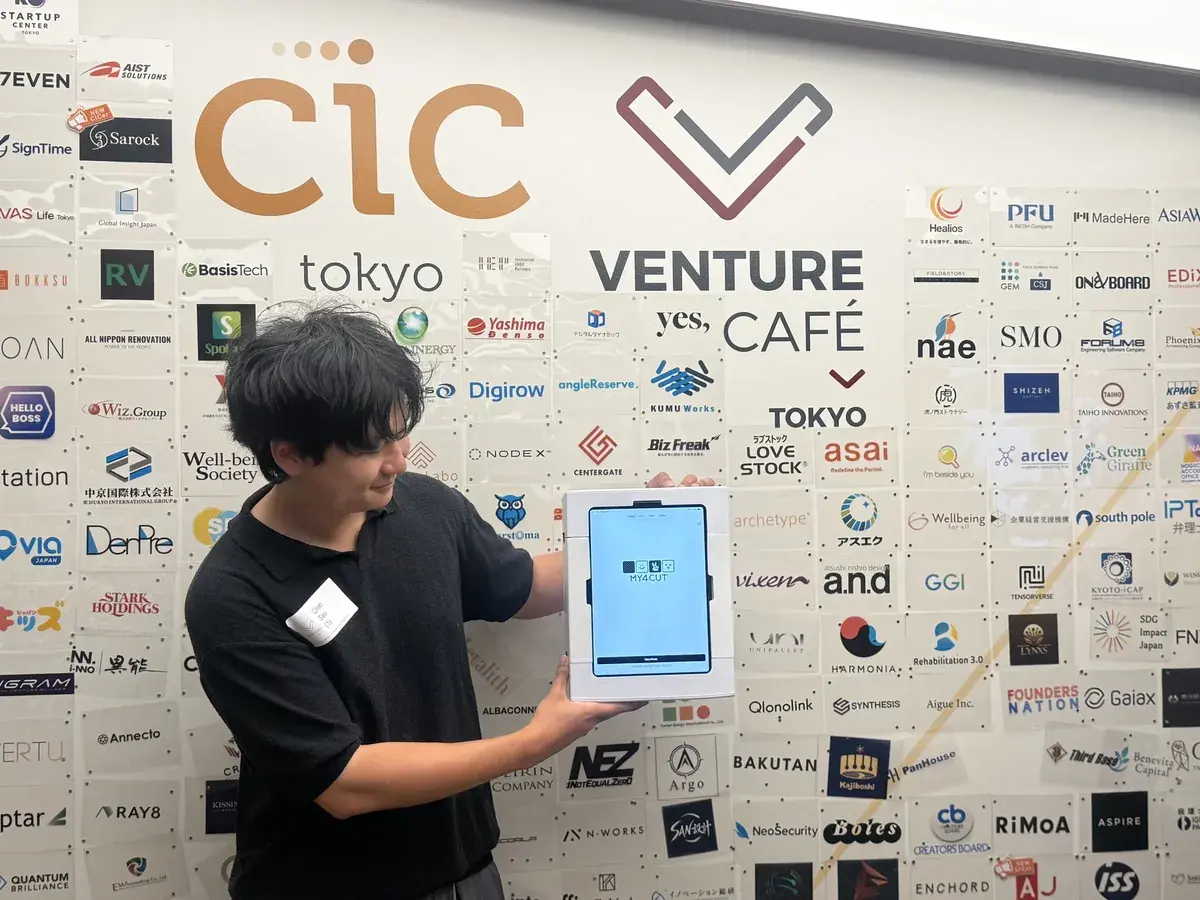
Not a booth build, just one demo table slot
July 9, 2026, Venture Café Tokyo at CIC Tokyo, where founders gather every Thursday night.
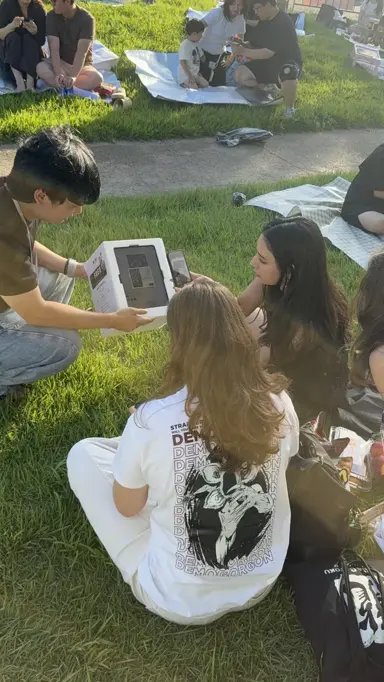
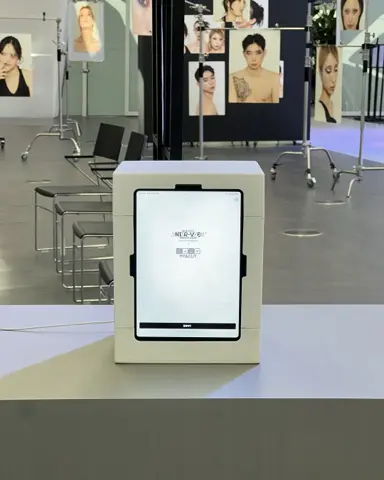
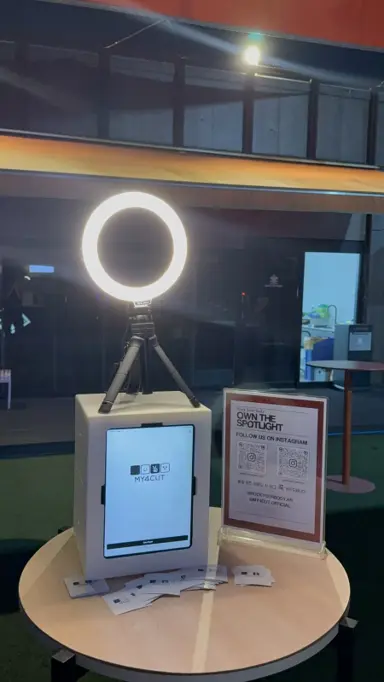
One mini booth with an iPad inside, one photo printer next to it. Shoot, and the print comes out right there.
A four-cut instead of a business card
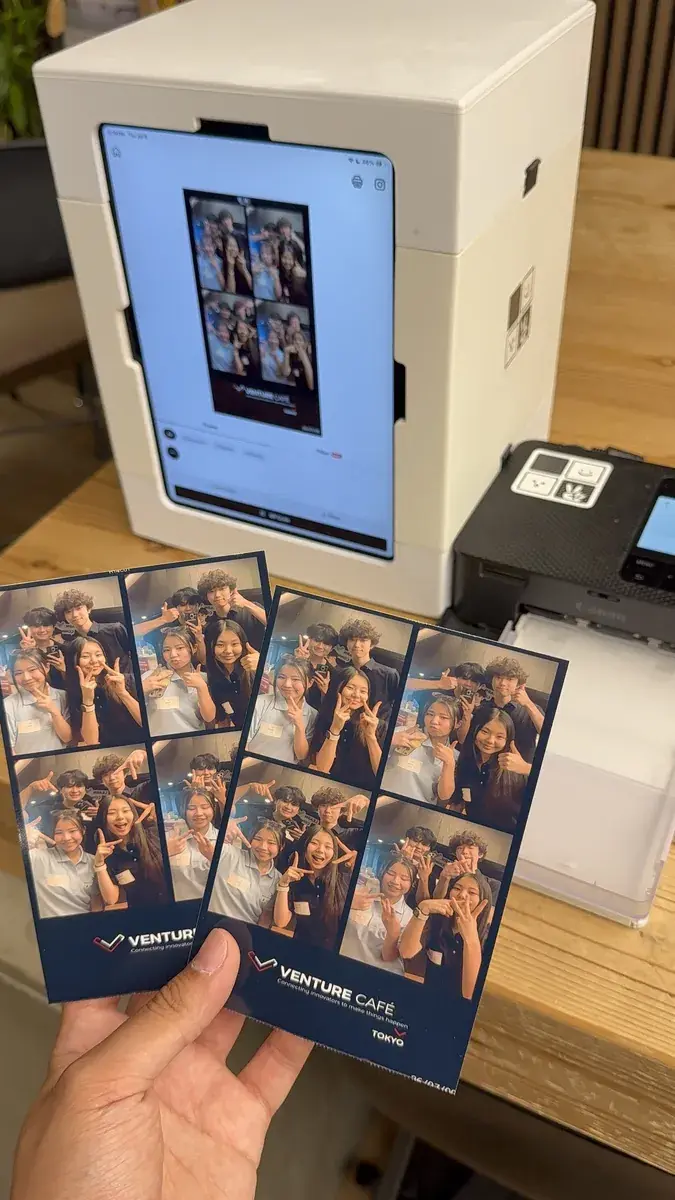
We made the frame in the app that day, with VENTURE CAFÉ TOKYO and the date at the bottom, so whoever took one home had proof they were there.
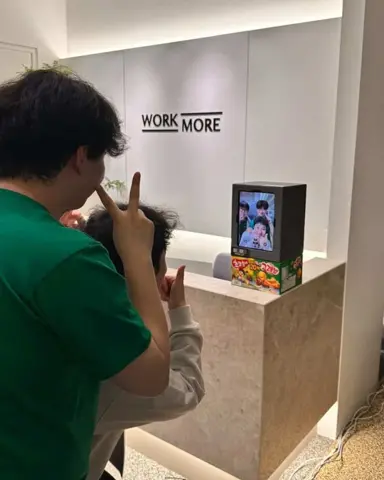
A card goes into a pocket and that is the end of it. A four-cut stays in the hand and keeps getting shown. We printed extra copies for everyone in the shot.
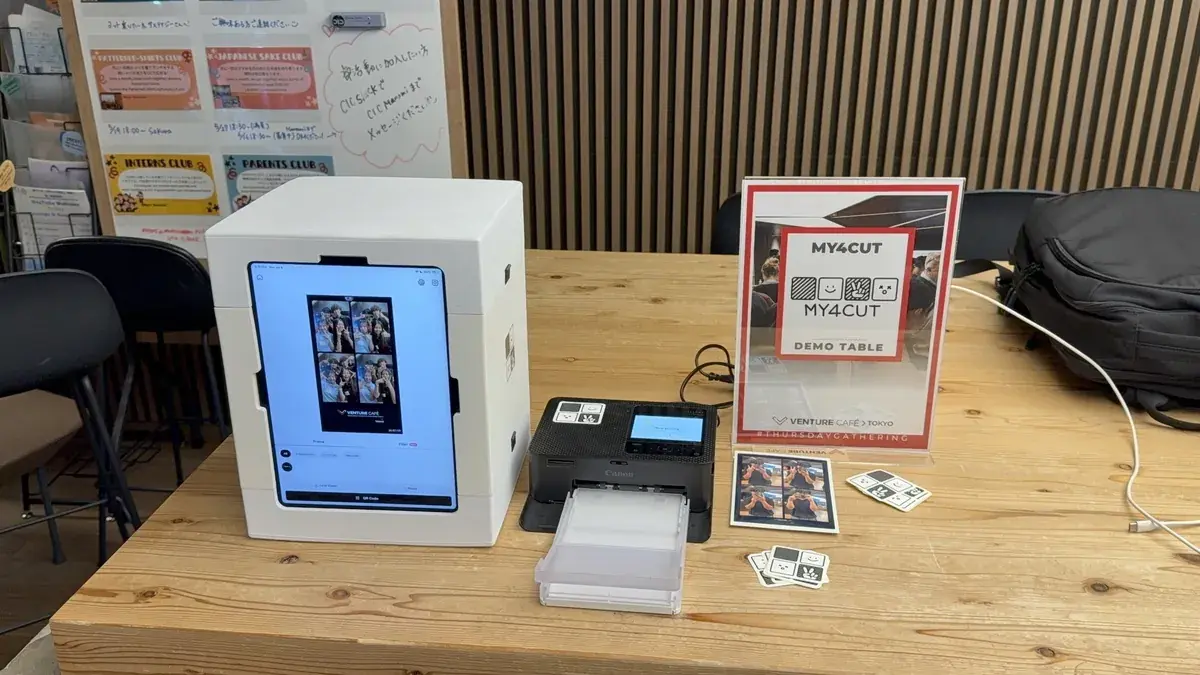
One suitcase
Everything we took to Tokyo fit in one carry-on: iPad, mini booth, printer, paper. No camera, no lighting, no booth structure.
If you have an event coming up, start by packing the iPad.
How did we pack for an overseas event?
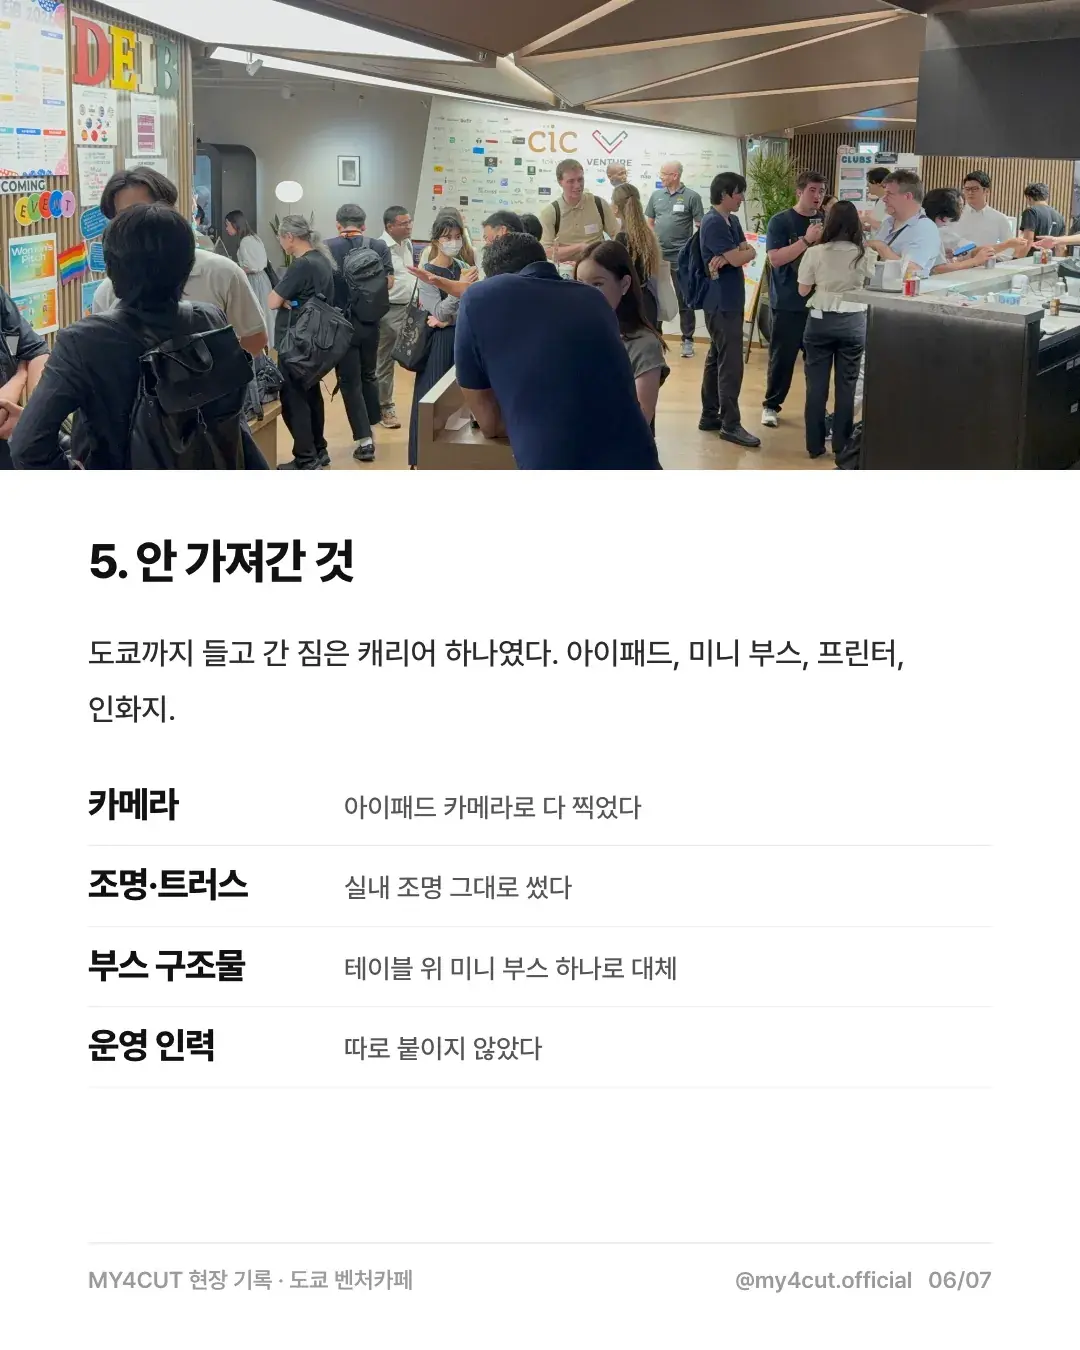
We carried one suitcase to Tokyo. Our card post split what we took from what we did not.
We took an iPad, the mini booth, a printer, and photo paper. This is what we left behind.
- Camera: the iPad camera took every shot.
- Lights and truss: we used the room lighting.
- Booth structure: one mini booth on the table replaced it.
- Operating staff: we did not bring any.
In what order did we hand out photos on site?
This is how it ran at the demo table.
- The table held only the mini booth and one sign. When someone walking by stopped at the sign, that was the start.
- People shot on the screen, picked a frame, and the printer next to it printed right away.
- Nobody had to take a contact to send photos later. We put the strip in their hand and that was it.
- We always printed several, one for the person and one for whoever they shot with.
Where do we start for our own event?
If an event is on the calendar, start with the iPad. Install the app, make a frame with the event name and date, connect one printer, and it runs that day.
The printer guide covers the connection and the custom frame page covers the frame. For more events, see the case collection.
Frequently Asked Questions
Can we take the photo booth to an overseas event?
What do we need to print on site?
How do we make a frame with the event name and date?
How do we deliver photos at an overseas event?
Do we need to bring staff for an overseas event?
Hand out four-cuts at your next event
Printer setup and booth options are in the guide and the shop.
Printer setup guideSet up an event booth with your logo and frame
The MY4CUT app has logo customization, dedicated event frames and an admin password lock. Guests get their strip on their own phone by QR code.