Guide
Make a frame in Illustrator or Photoshop
For anyone who'd rather design in their own tools. Grab a template that's already the right size, design on top, export a PNG and upload it to the app.
No design tools? The web maker sizes everything for you — just pick a template and edit the text.
Contents
Specs at a glance
There's one layout: a 2 × 2 four-cut. Shooting, saving and printing all place photos at the positions below, so slot size and position are fixed.
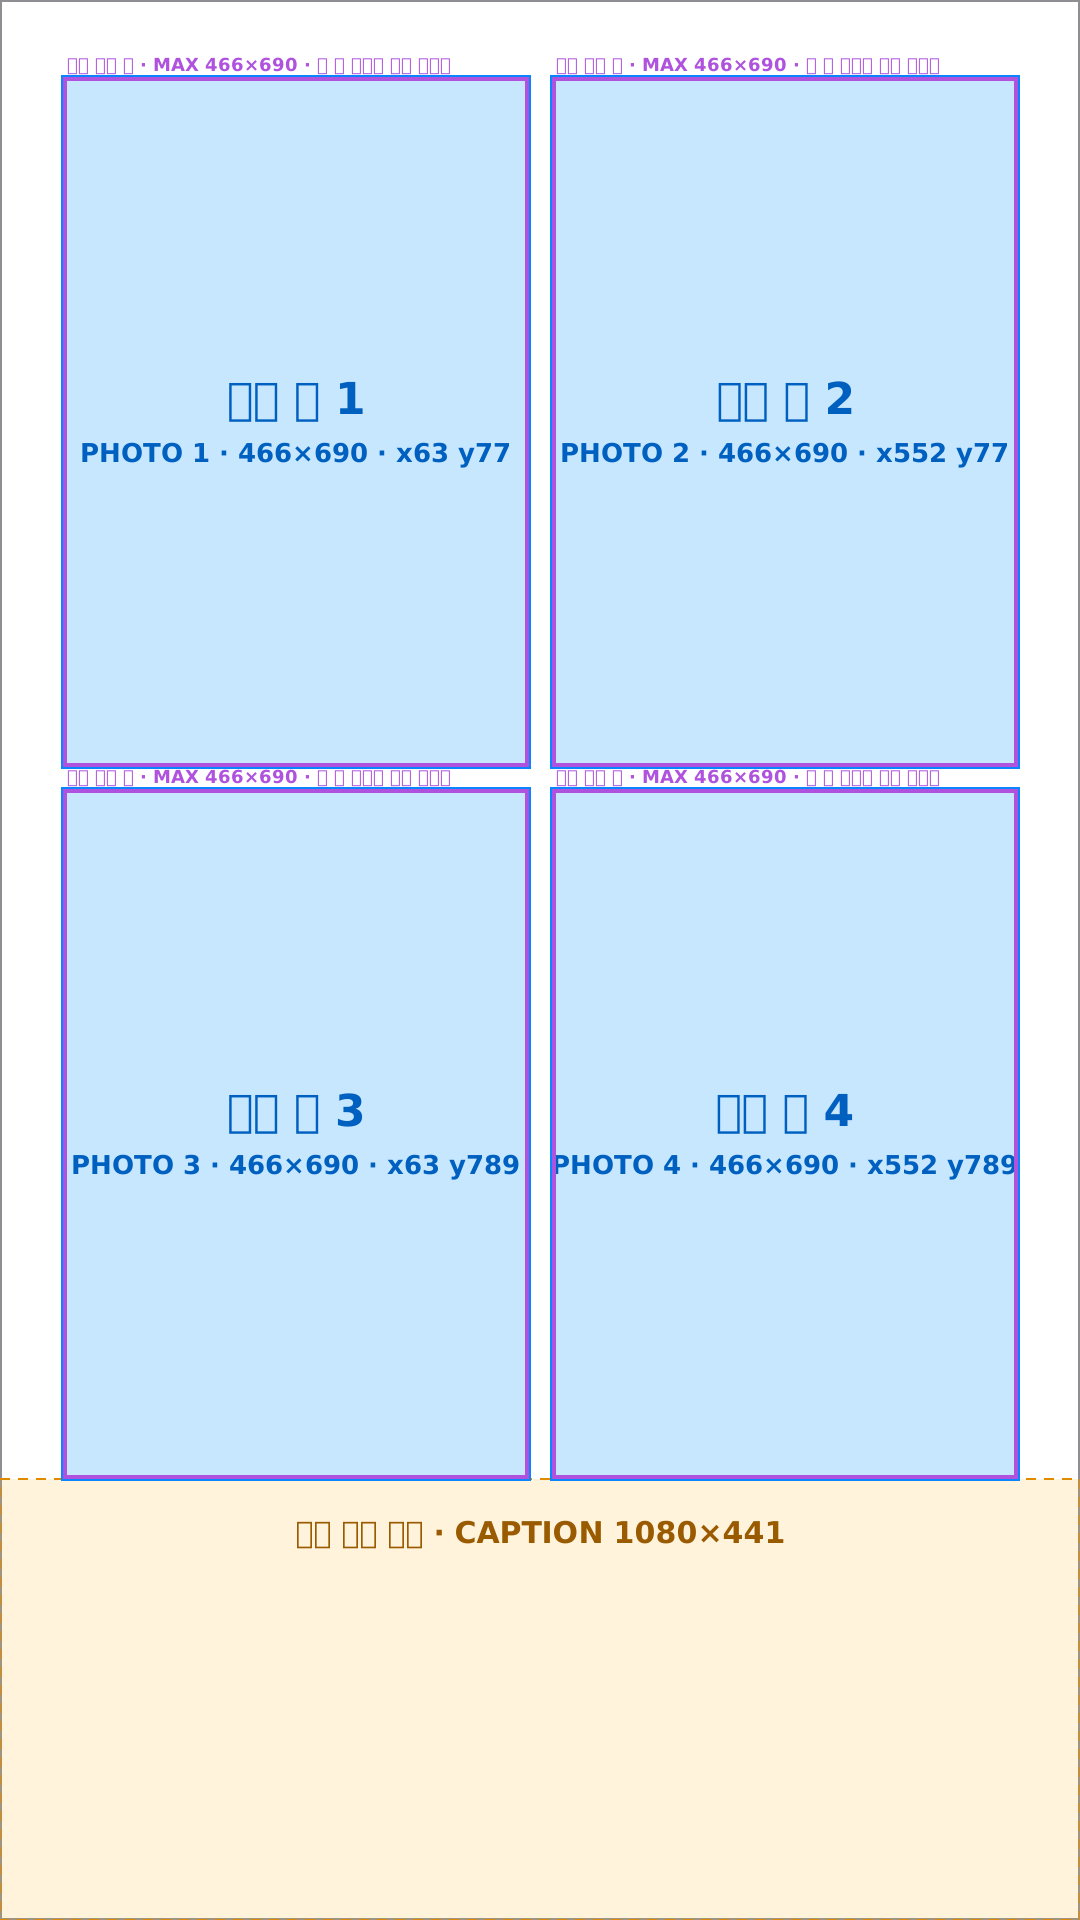
App frame
Required- Canvas
- 1080 × 1920 px
- Ratio
- 9 : 16
- Photo slots
- 4 · 466 × 690 each
- Caption band
- y 1479 ~ 1920
- Safe line
- None (shown in full)
- Bread
- 20 (on register)
Print frame
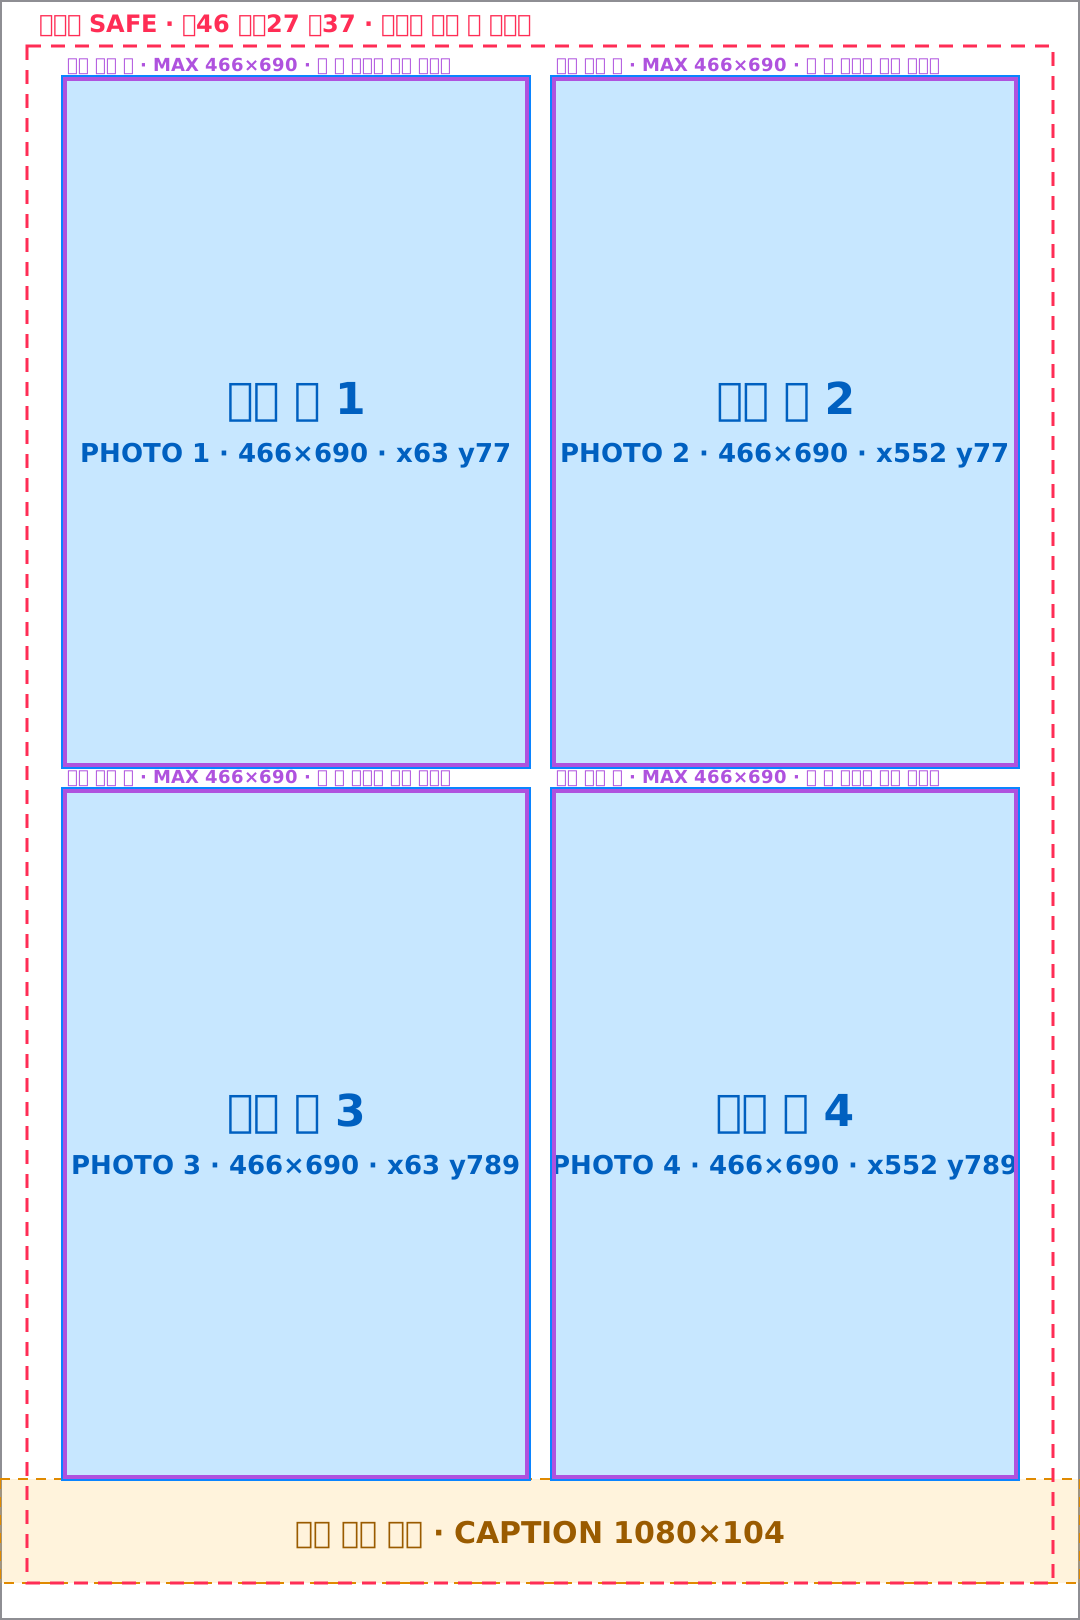
Optional · for printing- Canvas
- 1080 × 1620 px
- Ratio
- 2 : 3 (4×6 print)
- Photo slots
- Same 4 positions as app
- Caption band
- y 1479 ~ 1583
- Safe line
- 46 top · 27 sides · 37 bottom
- Bread
- +5
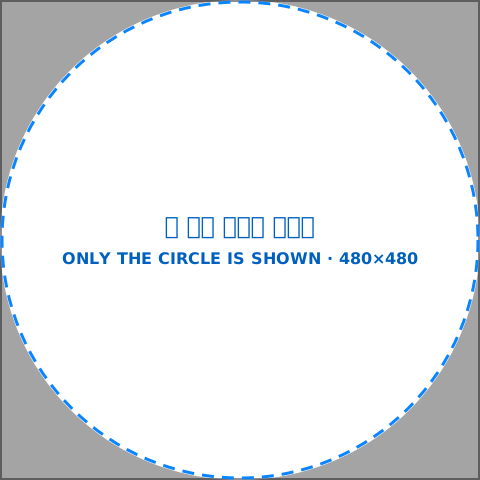
Thumbnail
Optional- Canvas
- 480 × 480 px
- Ratio
- 1 : 1
- Photo slots
- None
- Caption band
- —
- Safe line
- Only the circle shows
- Bread
- Free
Photo slot positions (app and print, px)
| Slot | X | Y | W × H |
|---|---|---|---|
| 1 | 63 | 77 | 466 × 690 |
| 2 | 552 | 77 | 466 × 690 |
| 3 | 63 | 789 | 466 × 690 |
| 4 | 552 | 789 | 466 × 690 |
Photos fill each slot edge to edge and the frame covers everything outside. The print safe rectangle runs from (27, 46) to (1053, 1583).
Shaping and decorating photo slots
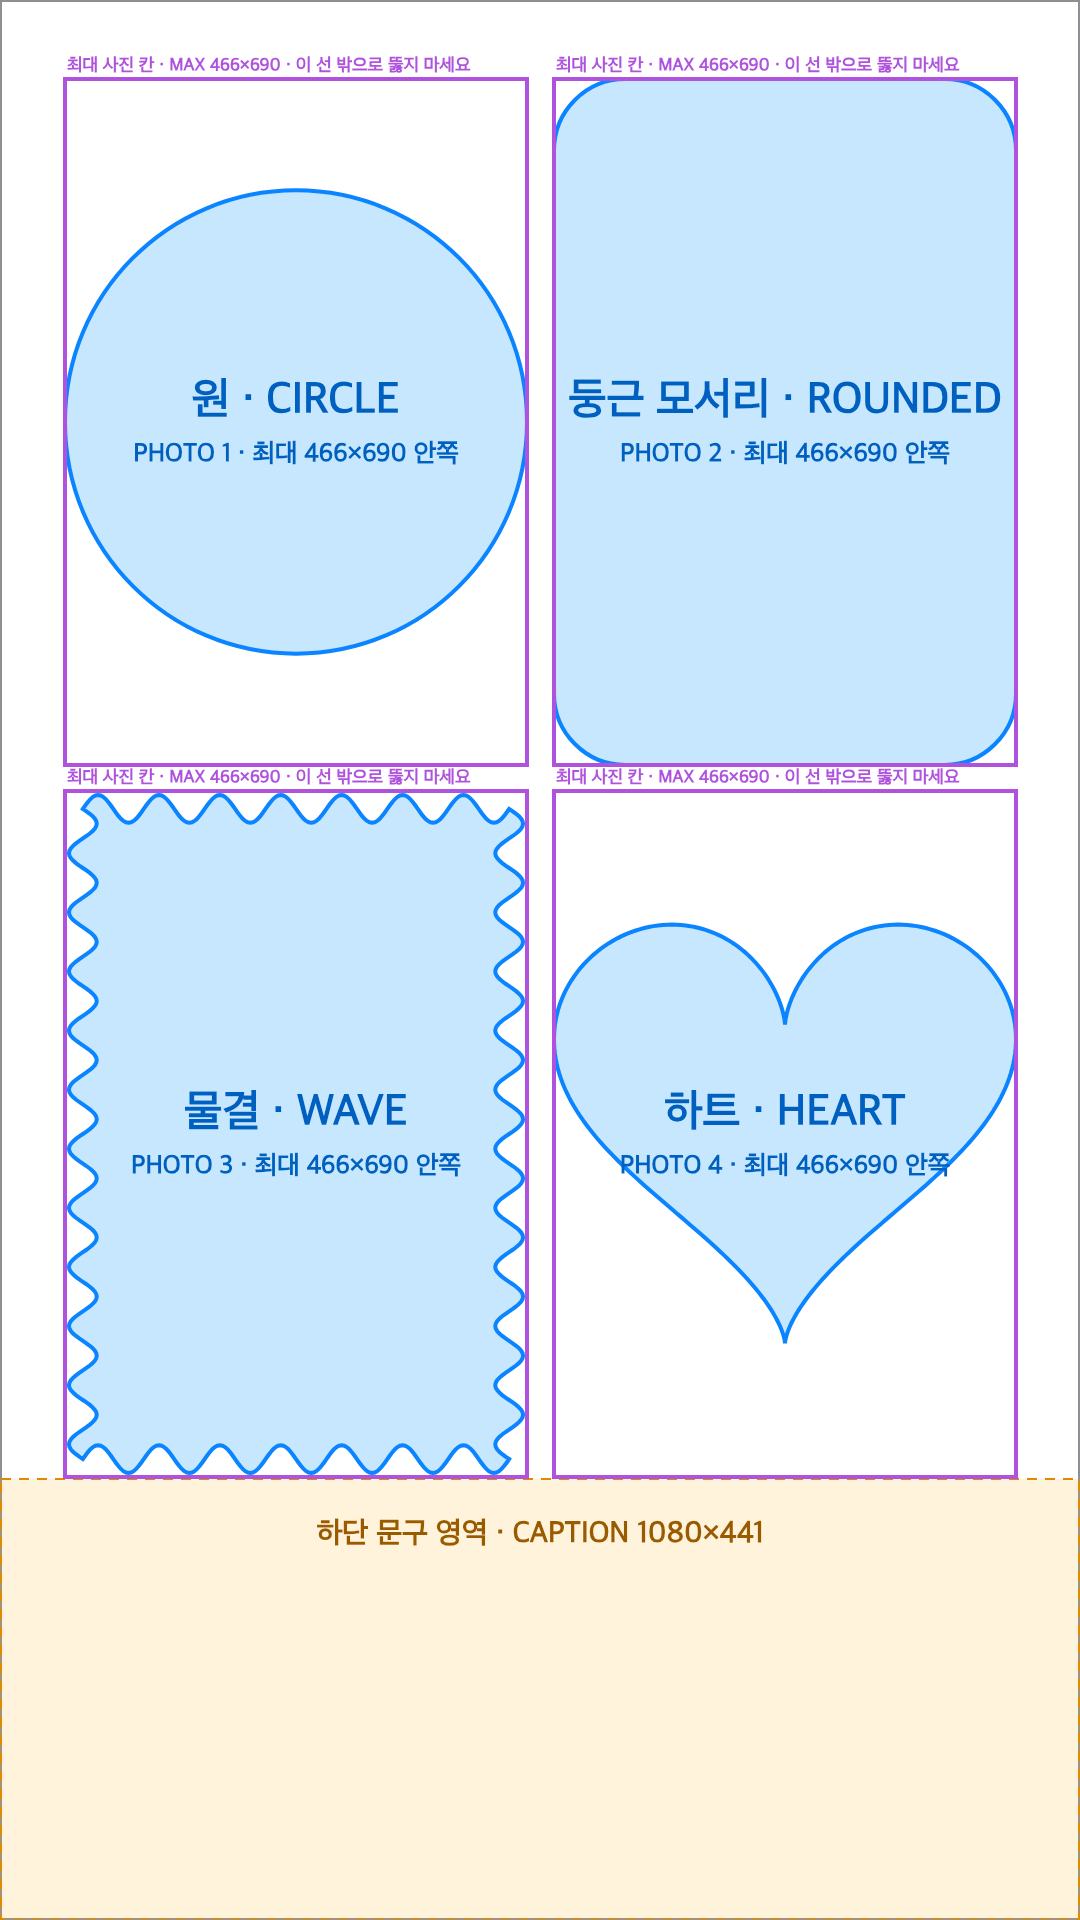
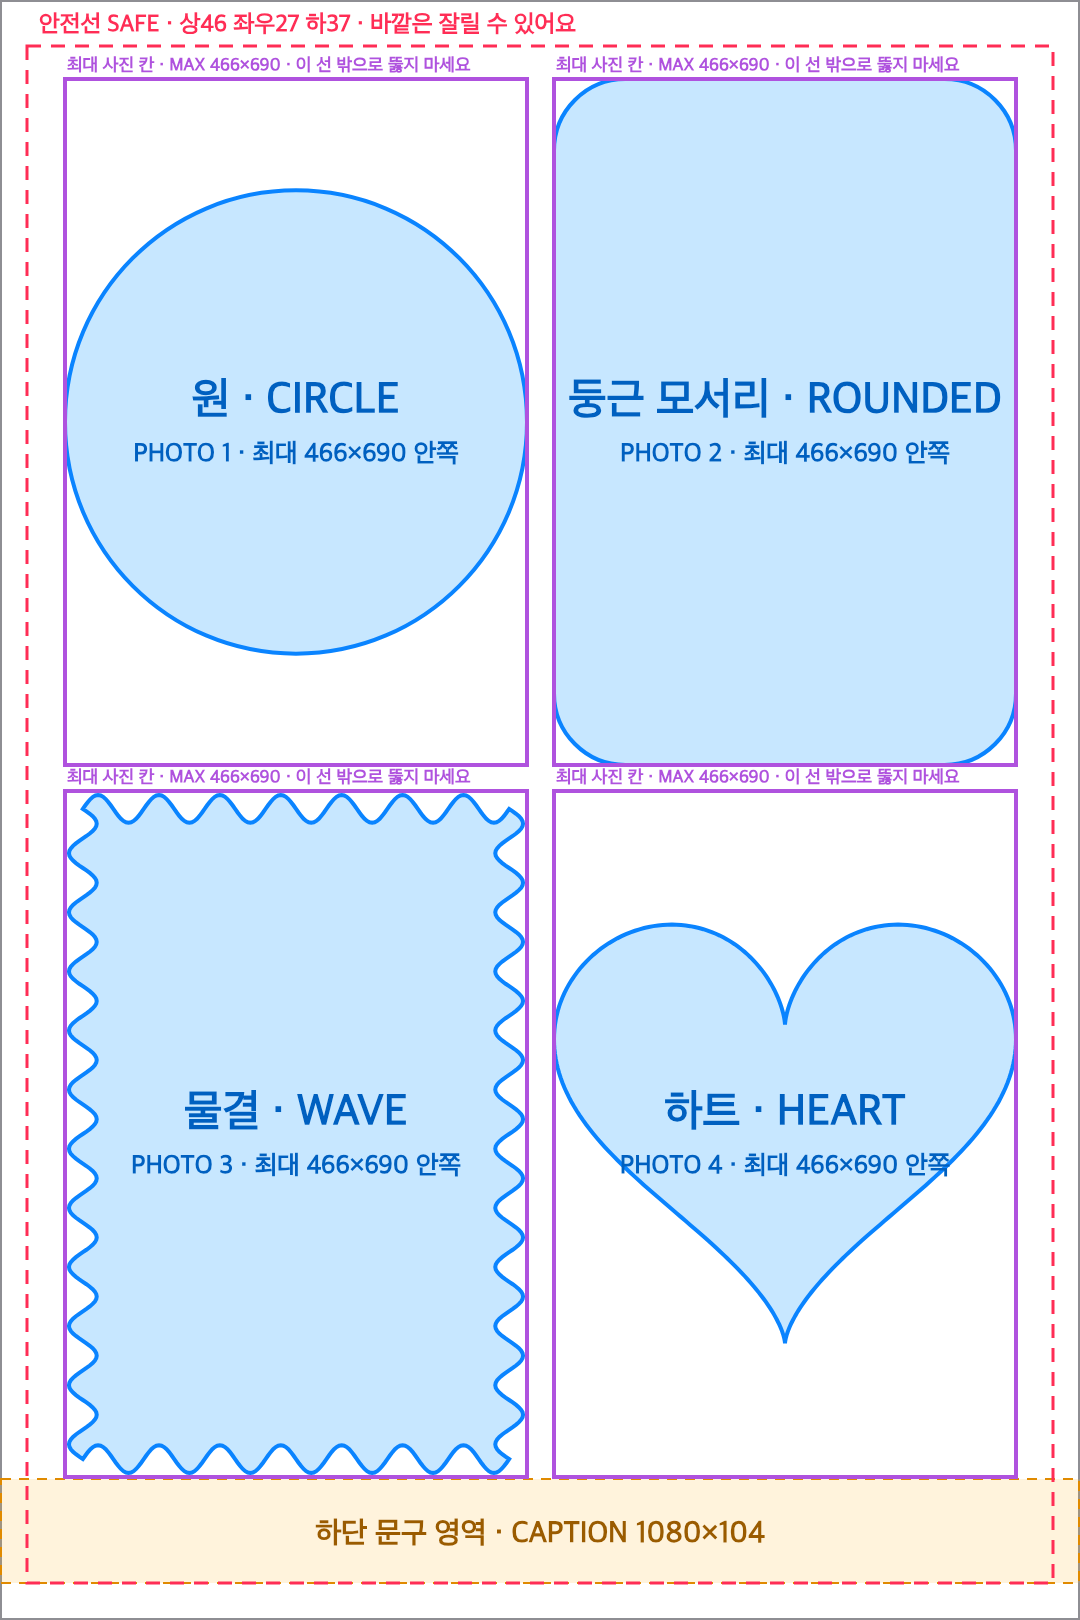
Slots don't have to be rectangles, and stickers or characters can overlap their edges. There's just one rule: the cut-out must never go outside the original 466 × 690 slot.
The app lays photos into fixed slots on a white base, then puts your frame on top. Whatever you cut out shows what's underneath: inside a slot that's the photo, outside it's the blank white base. The purple 'Max photo slot' line in every template marks that boundary.
OKAnything inside the slot
NGCut outside the slot and the white base shows
Red hatching = blank white base with no photo
How to cut a shape
- Draw shapes 1-2 px inside the purple 'Max photo slot' line. Drawing right on the line can let anti-aliased edges leak outside.
- Illustrator: draw the shape inside the slot, select it with the 'Base' shape, then Pathfinder > Minus Front.
- Photoshop: select inside the slot with the Elliptical Marquee or a shape layer, then Delete on the base and design layers (or fill a layer mask with black).
- If 85% or more of a slot is covered, the app flags it as blocked. Let stickers just touch the edge and keep the center, where faces go, clear.
- If you changed the shape, upload with 'Import PNG' in the app. The web maker re-cuts slots in the shape you pick.
Download templates
All templates (ZIP)15 SVG, PSD and guide PNG files + spec sheet · 1.6 MBApp frame 1080 × 1920
Required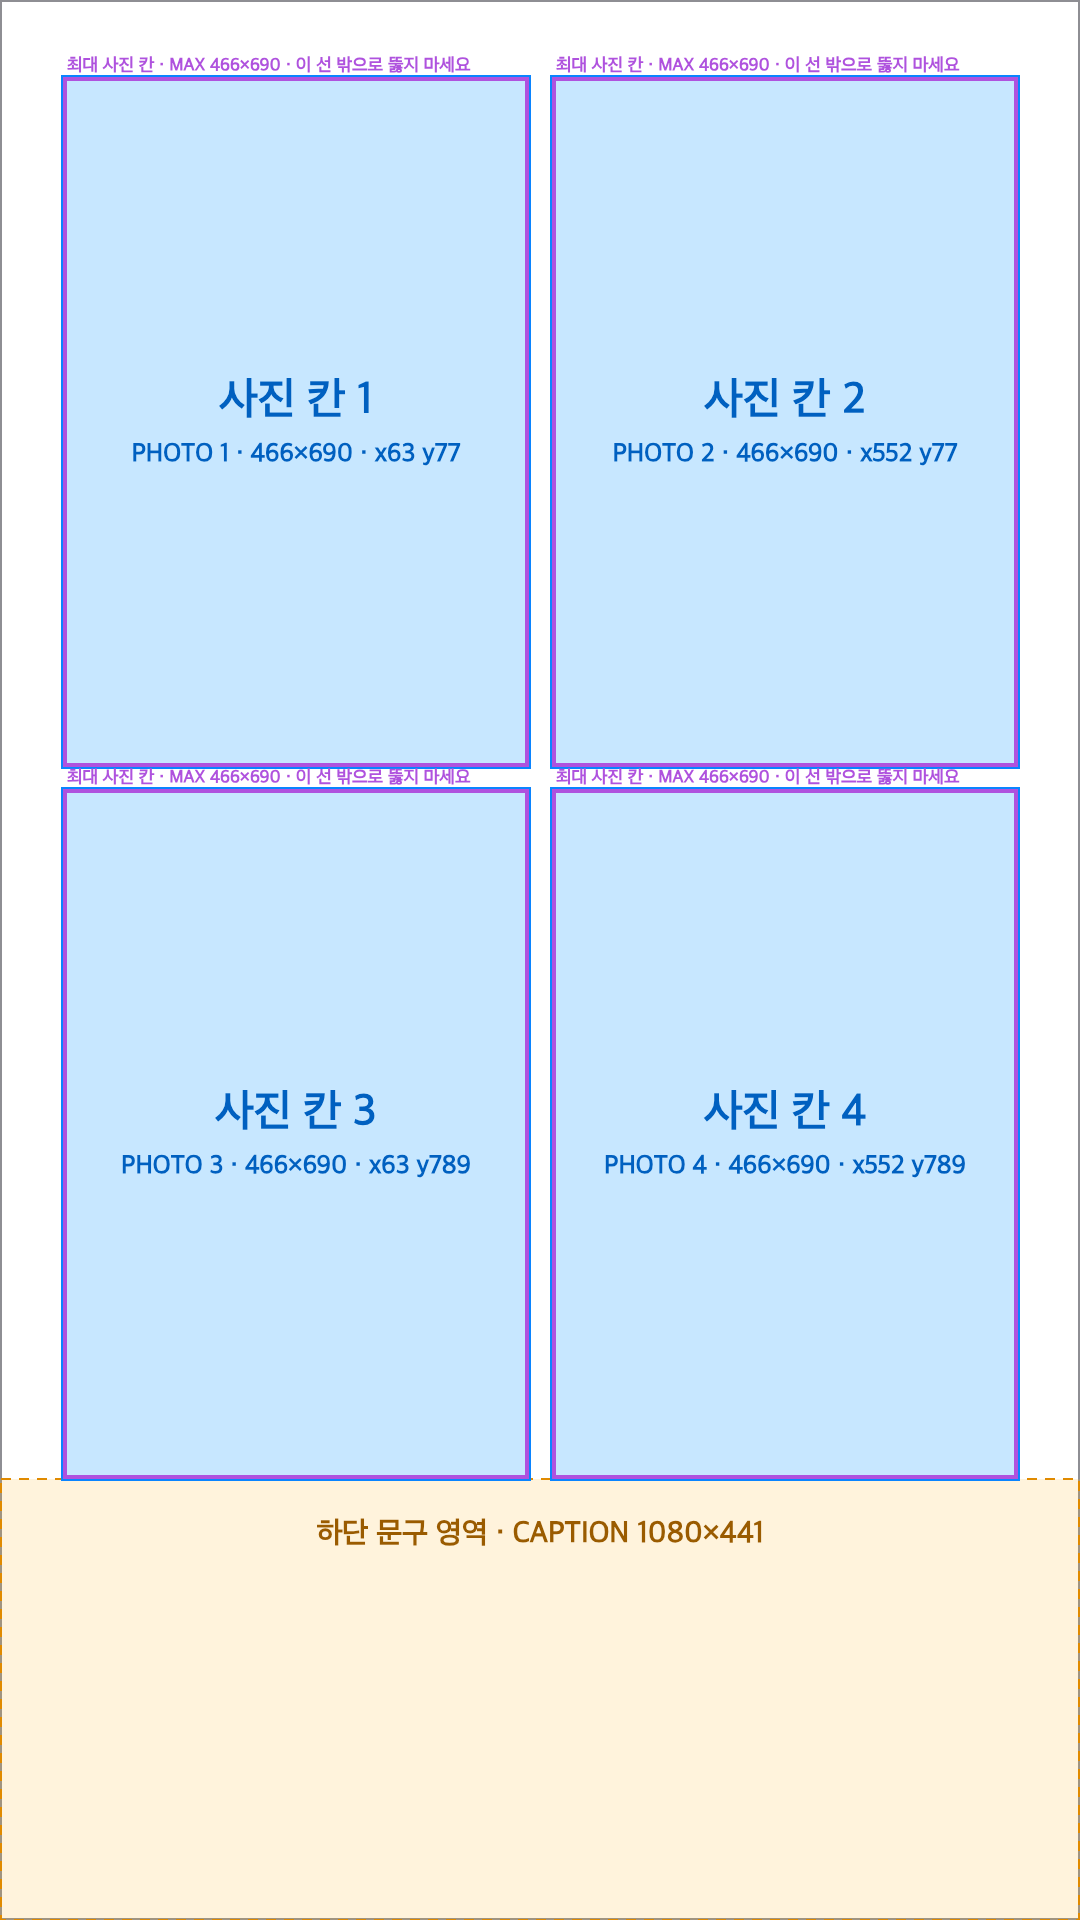
App · slot shape examples 1080 × 1920
Circle · rounded · wave · heart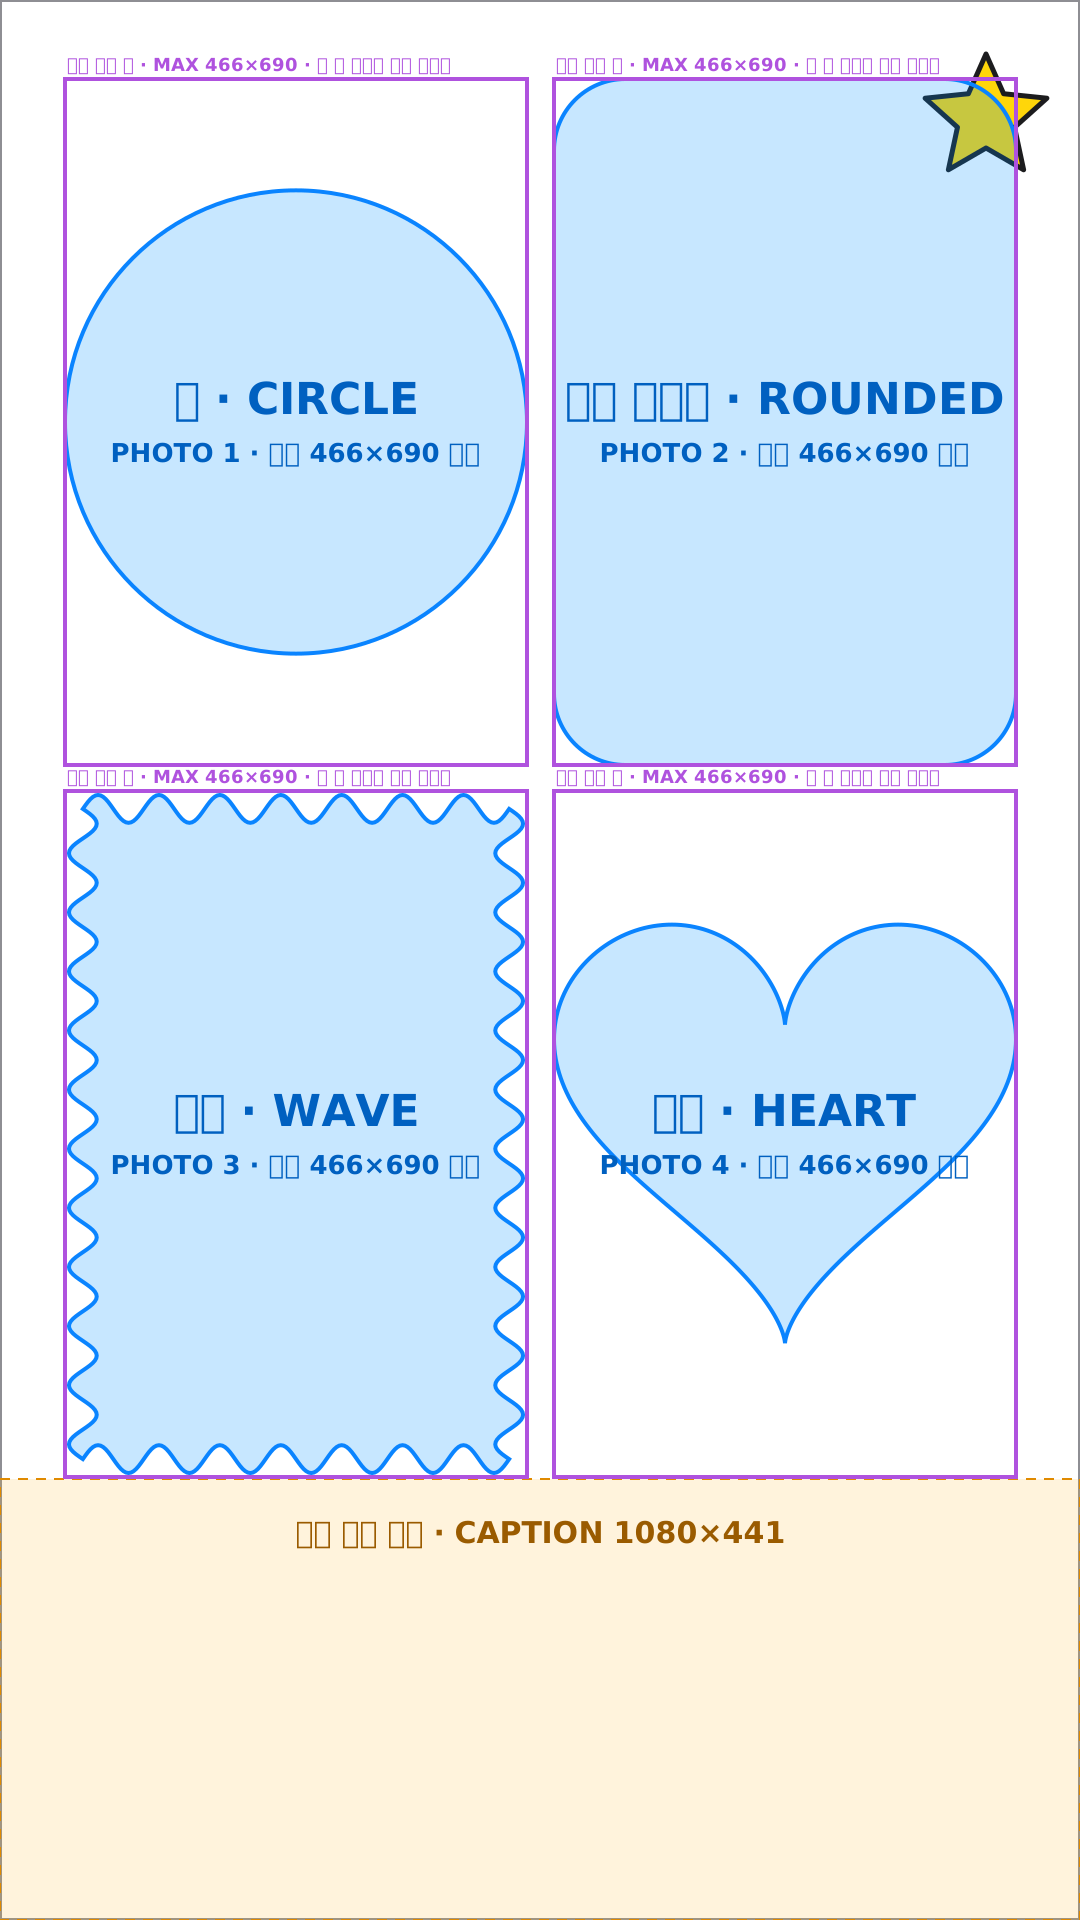
Print frame 1080 × 1620
Optional · for printing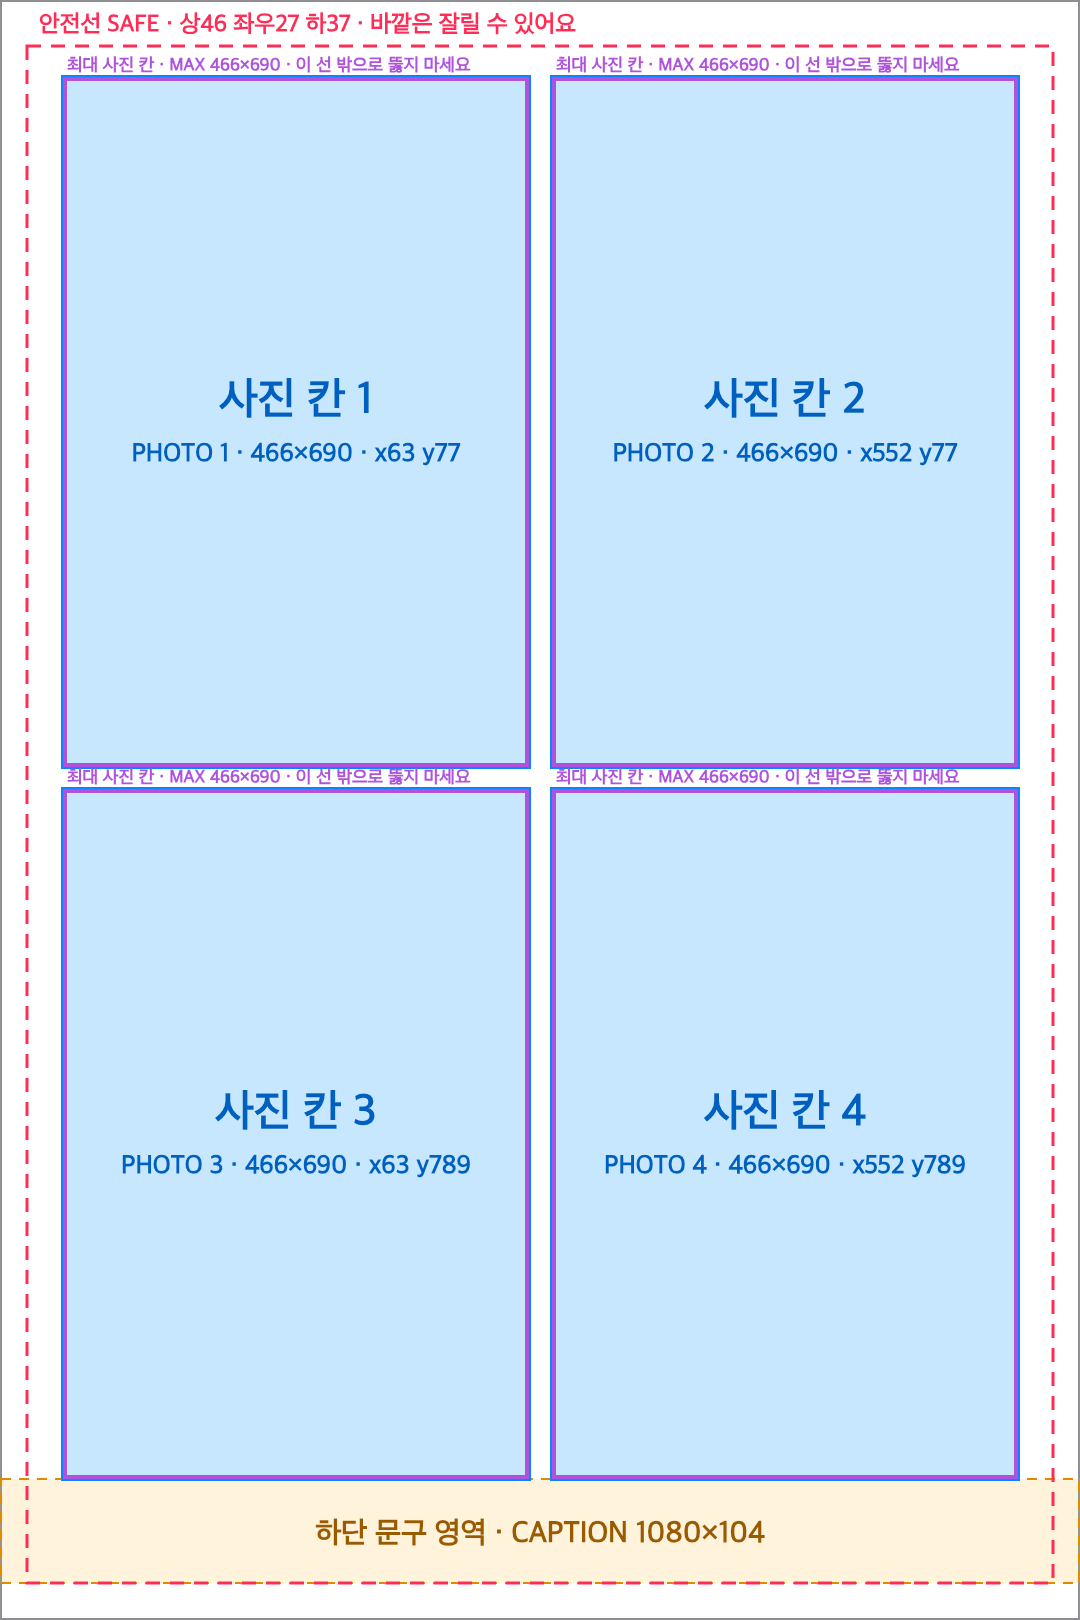
Print · slot shape examples 1080 × 1620
Circle · rounded · wave · heart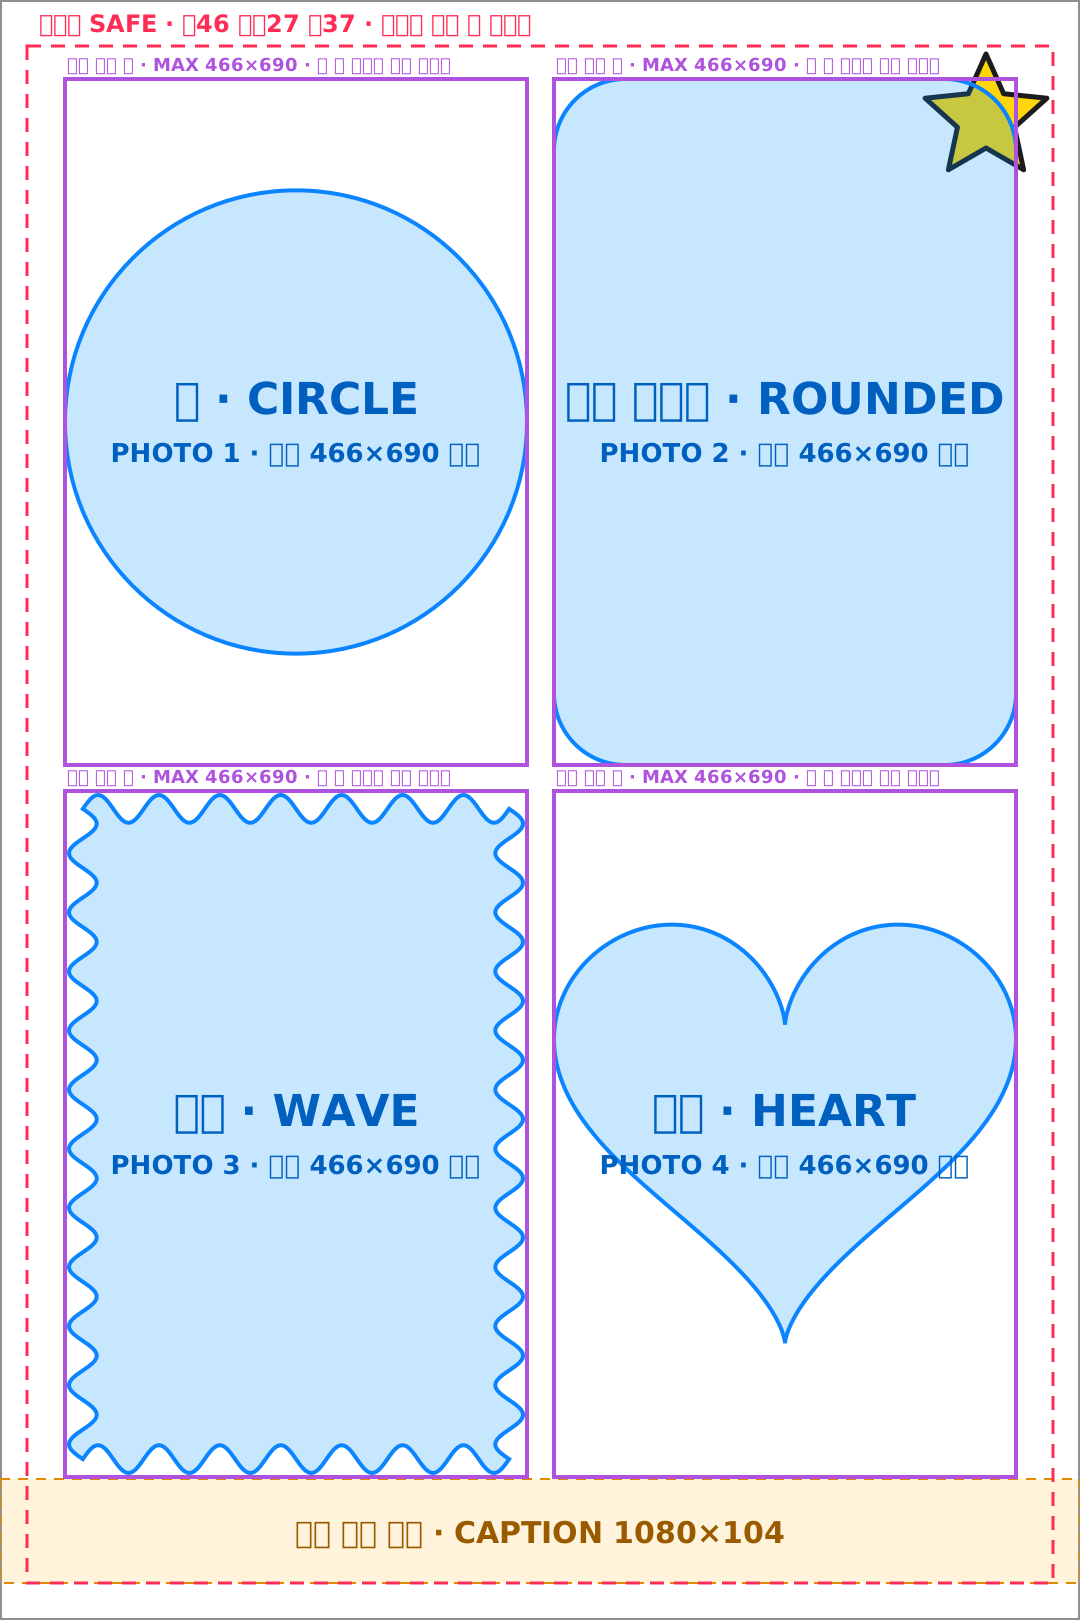
Thumbnail 480 × 480
Optional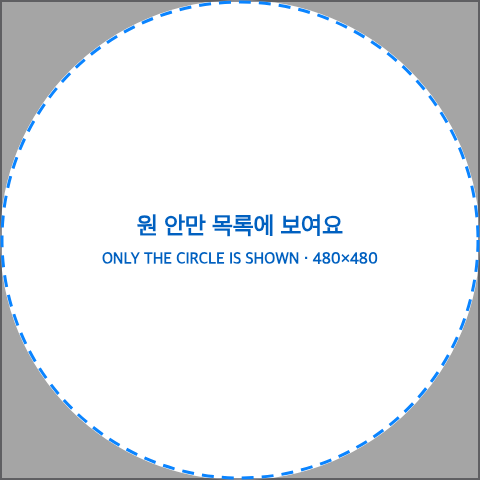
The guide PNG is just the slots and safe line on a transparent background. Use it as a top layer in Procreate, Figma, Canva or any other tool, and hide it before you export.
Make it in Illustrator
- 1
Unzip and open my4cut-frame-app-1080x1920.svg in Illustrator. The artboard is already 1080 × 1920 px. (If units show mm, switch to pixels in Preferences > Units.)
- 2
In the Layers panel, lock the 'Guides - hide before export' group (photo slots and caption band). Use it only as a reference; don't delete or move it.
- 3
The 'Base - photo holes cut' shape already has the 4 photo slots cut out. Recolor it or put your artwork and text on top.
- 4
If an image or pattern covers the photo slots: paste a copy of the 'Base - photo holes cut' shape on top of it (Edit > Paste in Front), select both, then Object > Clipping Mask > Make. The slot areas become empty.
- 5
When done, hide the 'Guides' group (eye icon) and use File > Export > Export for Screens > PNG at 1x with a transparent background. Check the result is exactly 1080 × 1920.
Make it in Photoshop
- 1
Open my4cut-frame-app-1080x1920.psd. Check Image > Image Size shows 1080 × 1920 pixels (the ppi value doesn't matter).
- 2
Layers: 'Base - photo holes cut' at the bottom, an empty 'Design' layer above it, and the locked 'Guides' group on top. Draw on 'Design' or on new layers above it.
- 3
Easiest way to clear the slots: Cmd/Ctrl-click the 'Photo slots - keep' layer thumbnail to select the slots, then press Delete on each design layer. Or add a layer mask to your design group and fill the selection with black.
- 4
When done, hide the 'Guides' group and save via File > Export > Export As > PNG with Transparency and Convert to sRGB checked.
- 5
Make the print frame and thumbnail the same way from their own PSDs. On the print frame, keep text and logos inside the red safe line.
Export rules
Do
- PNG with transparency · sRGB color
- Exact pixel size: app 1080 × 1920, print 1080 × 1620
- Cut-outs fully transparent (alpha 0), and only inside the purple 'Max photo slot' line (466 × 690)
- 10 MB or less per file · the DPI value doesn't matter
- Hide the 'Guides' layers (slots, safe line) before export
Don't
- Moving a slot, cutting larger than it, or joining slots — the white base with no photo shows through
- Stickers, text or tints covering most of a photo — faces get hidden (overlapping the edge is fine)
- Text or logos outside the safe line on the print frame — may be cut when printing
- Saving as JPG — transparency is lost and the slots turn white
- Resizing the canvas or trimming the edges
- Using other people's characters, logos or photos without permission
Upload to my4cut
Upload the finished PNG from the app or the web maker; either way it lands in the same My frames. To keep your own slot shapes exactly, use the app.
From the app
Uses your PNG's transparent areas as the slots
- 1Save the PNG to the Files app on your iPhone or iPad (AirDrop, iCloud Drive). Files keeps transparency more reliably than Photos.
- 2In the my4cut app, open the [Create] tab → [Import PNG] → [Select from Files (PNG)]. (Older versions: [Store] → [Create My Frame] → [Create on the Web] → [Upload the finished PNG].)
- 3The app checks the size (1080 × 1920) and slot transparency right away. If it passes, tap [Create without editing].
- 4On the submit screen, optionally pick a thumbnail and a 1080 × 1620 printer-only frame PNG (+5 bread), then tap [Create with 20 bread]. It's added to My frames.
From the web maker
Right from your computer · slots are cut automatically in the shape you pick
- 1Go to my4cut-official.com/create-frame and click [New frame].
- 2Use [Background] → [Upload background image] to add your PNG. At 1080 × 1920 it fits the canvas exactly. Pick a slot shape if needed.
- 3For printing too, click [Add print frame] and upload your 1080 × 1620 PNG the same way on the print canvas.
- 4Click [Add straight to the app] and log in with your app account. It goes to My frames for 20 bread (+5 for the print frame). A thumbnail is made automatically.
FAQ
The photo slots are misaligned
First check the PNG is exactly 1080 × 1920 (print: 1080 × 1620). Exporting at 2x/3x, or without clipping to the artboard, changes the size. Also make sure the template's slot layer wasn't moved. Slots are at (63, 77), (552, 77), (63, 789), (552, 789), each 466 × 690.
A white edge appears around the photos
The cut-out is larger than the 466 × 690 max slot, or shifted. Photos are placed only in the fixed slots, so even 1 px cut outside shows the white base with no photo. Use the template's 'Base - photo holes cut' shape or slot selection, and keep hand-drawn shapes 1-2 px inside the purple line.
The edges get cut off when I print
Photo printers trim a little off the paper edge. Make a separate print frame (1080 × 1620) and keep text and logos inside the red safe line (46 top, 27 sides, 37 bottom). Extend background color and patterns to the very edge so no white strip appears. Without a print frame, the app builds one from your app frame automatically.
It says a photo slot is blocked
The slot is almost entirely opaque (85% or more opaque counts as blocked). Check that you didn't save as JPG, export with the 'Guides' layer visible, cover most of the slot with a background or sticker, or make the shape too small.
Can the photo slots be circles, hearts or waves?
Yes, any shape works as long as it stays inside the purple max slot. The 'slot shape examples' templates (circle, rounded, wave, heart) are a good start. Upload shaped frames with 'Import PNG' in the app, which keeps your transparent areas as-is. The web maker re-cuts the slots in the shape you pick (circle, heart, arch...), so a hand-drawn shape may change there.
Can I use a 1×4 strip or another layout?
Only the 2 × 2 layout (four 466 × 690 slots) is supported for now. Shooting, saving and printing all composite to these positions, so slot size and position can't change. The slot shape and everything around it are up to you.
Do I have to make a thumbnail?
No. If you skip it, one is made from your app frame. If you make one, use a 480 × 480 square; only the center circle shows in the list.