School Festival 4-Cut Frame: How to Make Your Own
The short answer
A school, department or club frame is a 1080x1920 px PNG with the four photo slots left transparent, uploaded in the app. The Seoul National University festival frame was made and uploaded that way. Download the template, decorate it, then use Import PNG on the app's Create tab.
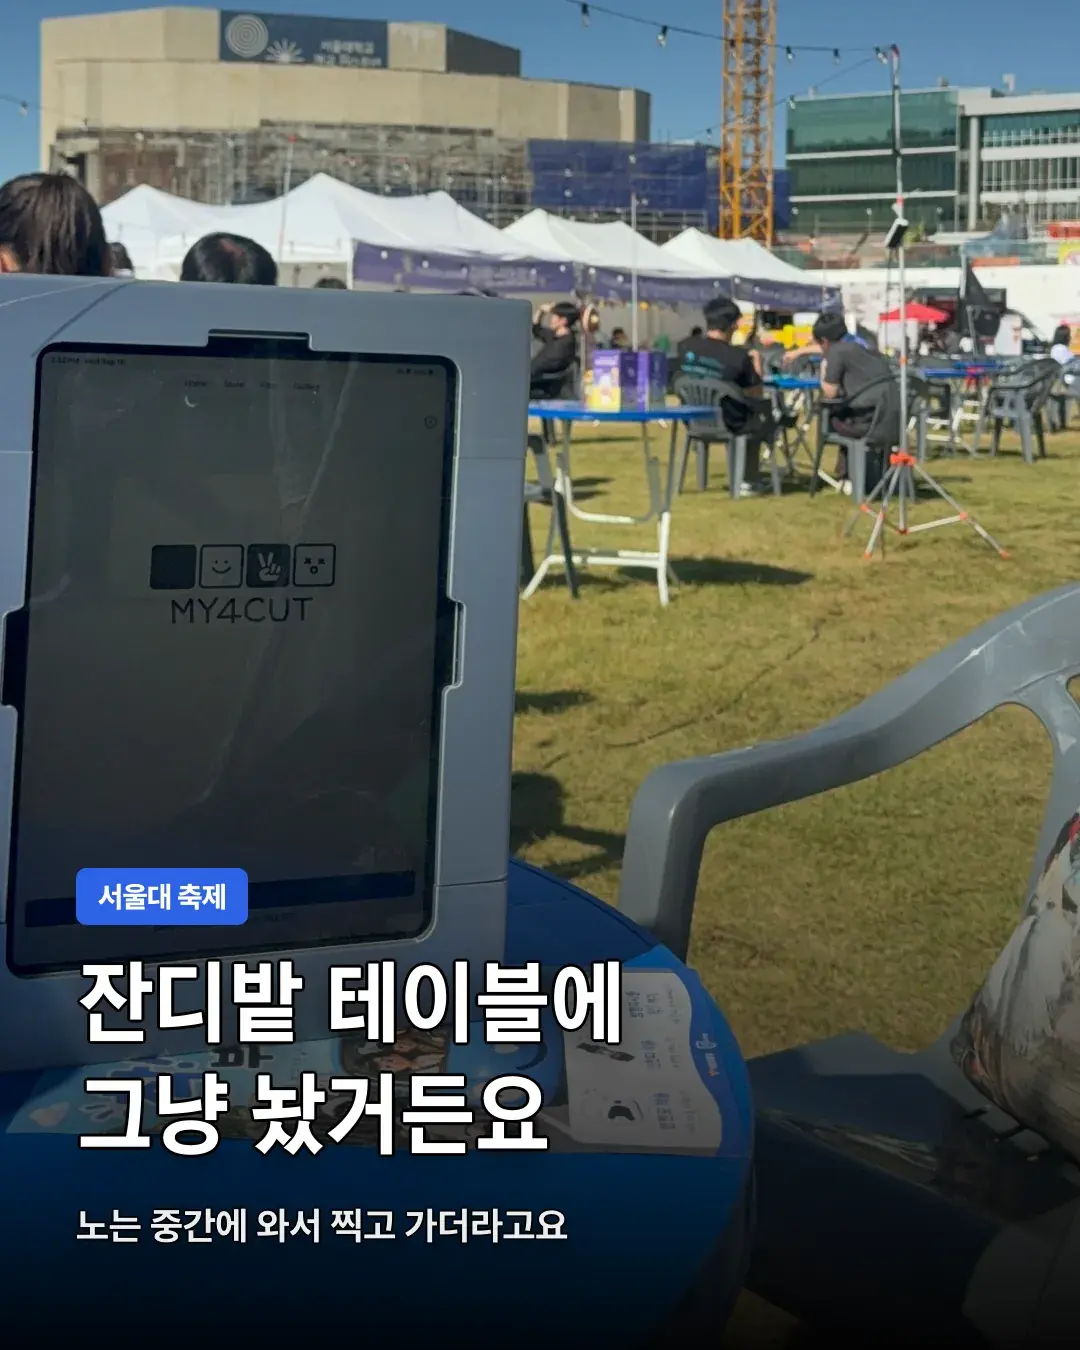
How was it used at the Seoul National University festival?
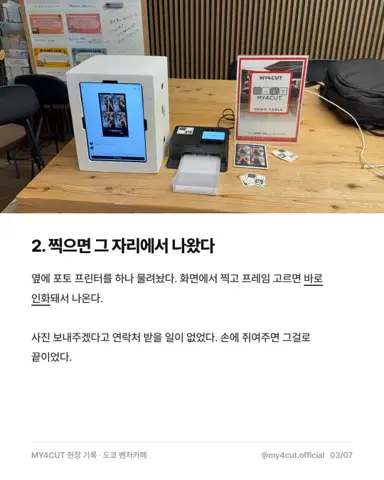
On September 16, 2026 I took the app to the Seoul National University festival. I did not set up a booth. I just left the tablet on a blue table on the lawn, and people stopped by to take a strip between games and food.
The photo goes to their phone by QR code. They can post it to their story on the spot and head back out. I wrote more about this kind of setup in the campus festival photo booth post.
For a student council or department event, two things need deciding in advance: which frame to use and how people receive the photo. At the Seoul National University festival it was the school-mark frame and delivery by QR code.
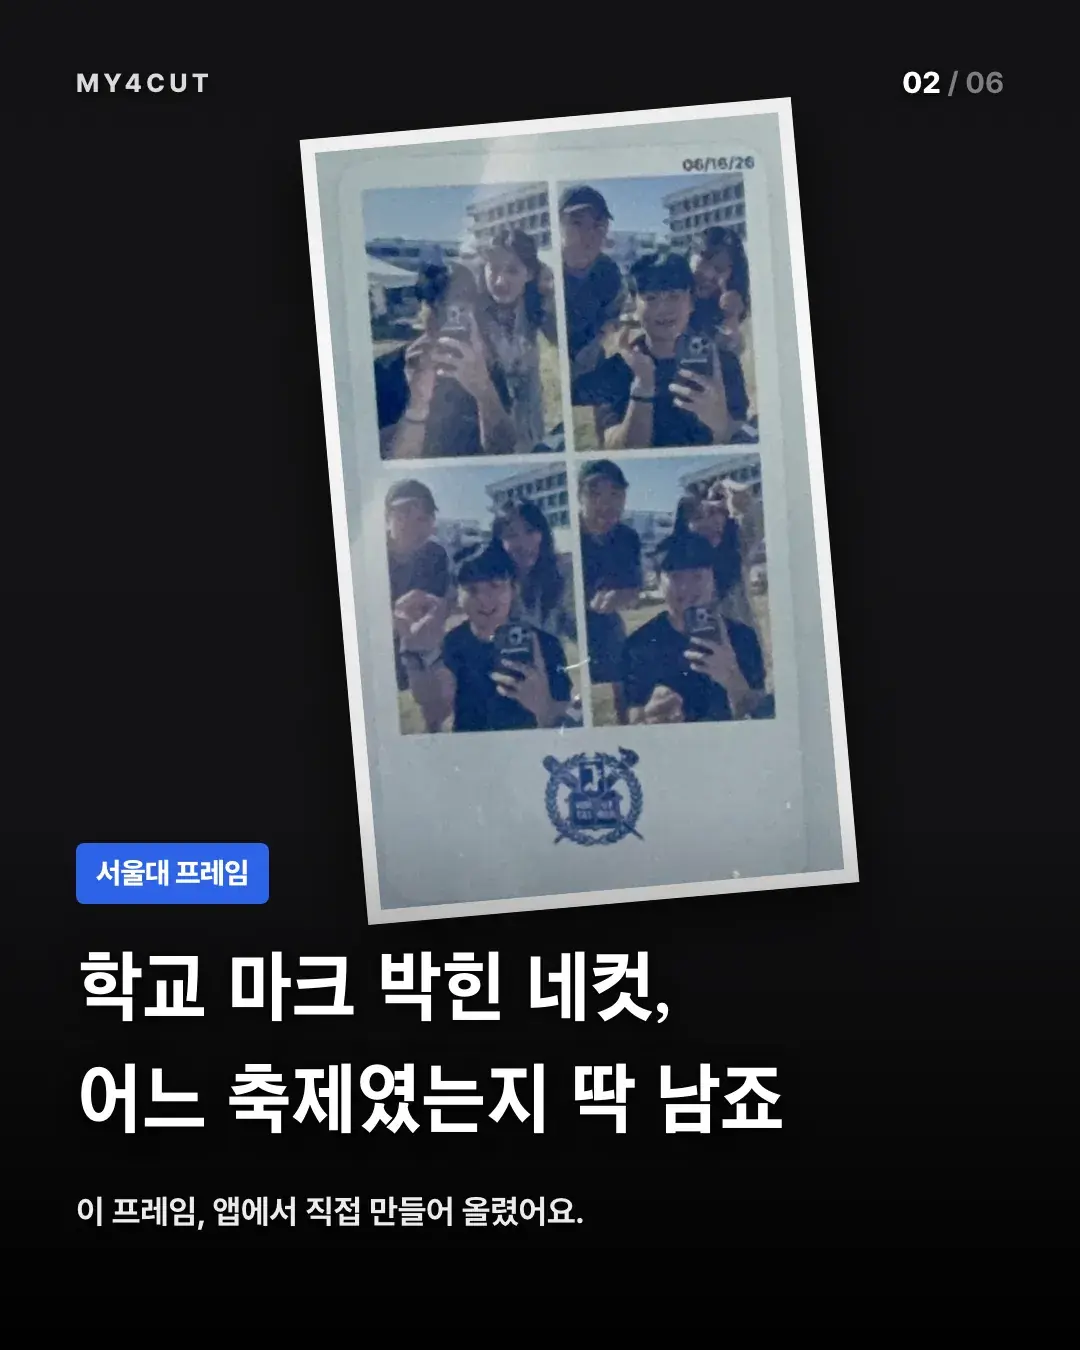
Why make a separate frame with the school mark?
With the school mark on it, the strip itself tells you which festival it was. The Seoul National University frame was made and uploaded from the app. Nothing was outsourced, so a department or club frame can be made the same way.
Before using a school mark or logo, check whether the student council or the school needs to approve it. The frame guide also says not to use other people's characters, logos or photos without permission.
A frame with your department's name tells you, long after the event, which event a photo in the album came from. For a yearly event you could change just the year and make it again. That is only a suggestion.
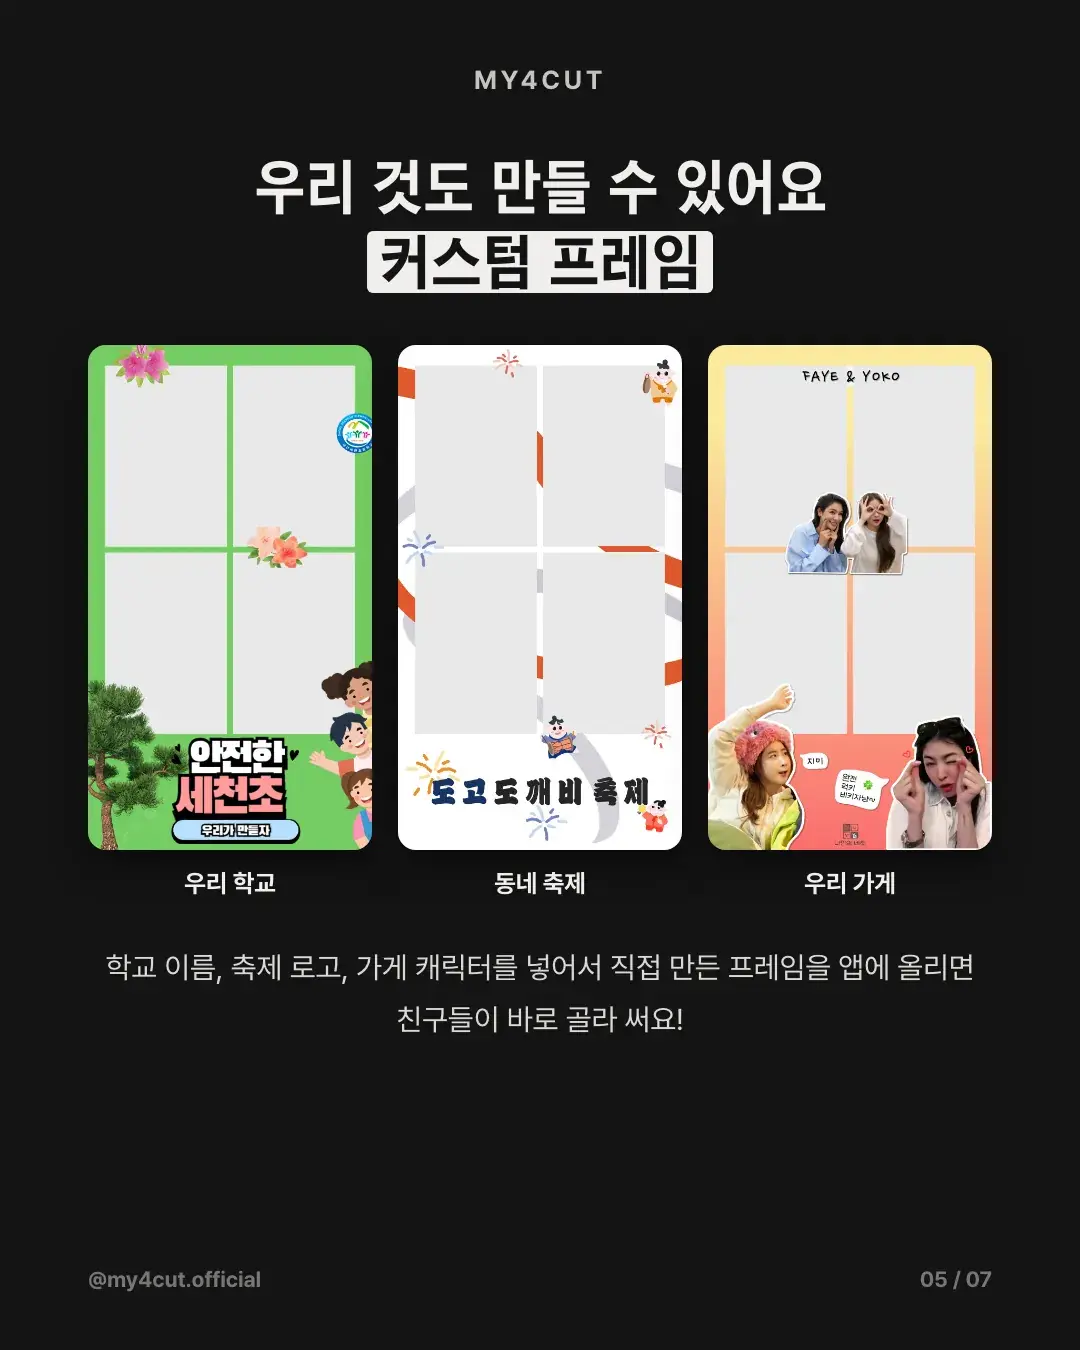
What goes into a school, department or club frame?
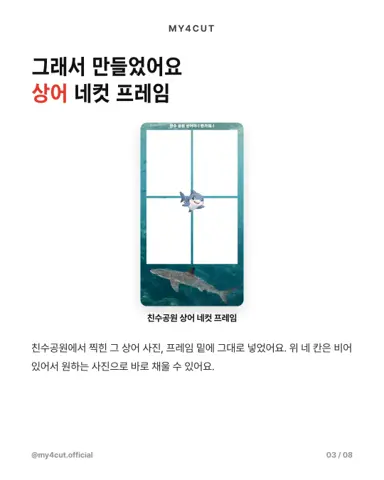
The examples in the card news were a school name, a festival logo and a shop character. Frames made and uploaded this way include one with an elementary school name, one for a local festival and one for a cafe.
For a department or club, add the name and year. If you have a mascot or logo, keep it near the edge so it does not cover the photo slots. That placement tip comes from the template guide, which says stickers may touch the edge but the center, where faces go, should stay clear.
What are the steps to make the frame?
These steps follow the web frame template guide, for people using Illustrator or Photoshop on a computer.
If a background image or pattern covers the photo slots, in Illustrator paste a copy of the 'Base - photo holes cut' shape on top, select both and make a clipping mask, which leaves the slot areas clean. In Photoshop, Cmd/Ctrl-click the slot layer thumbnail to select the slots, then press Delete on each design layer.
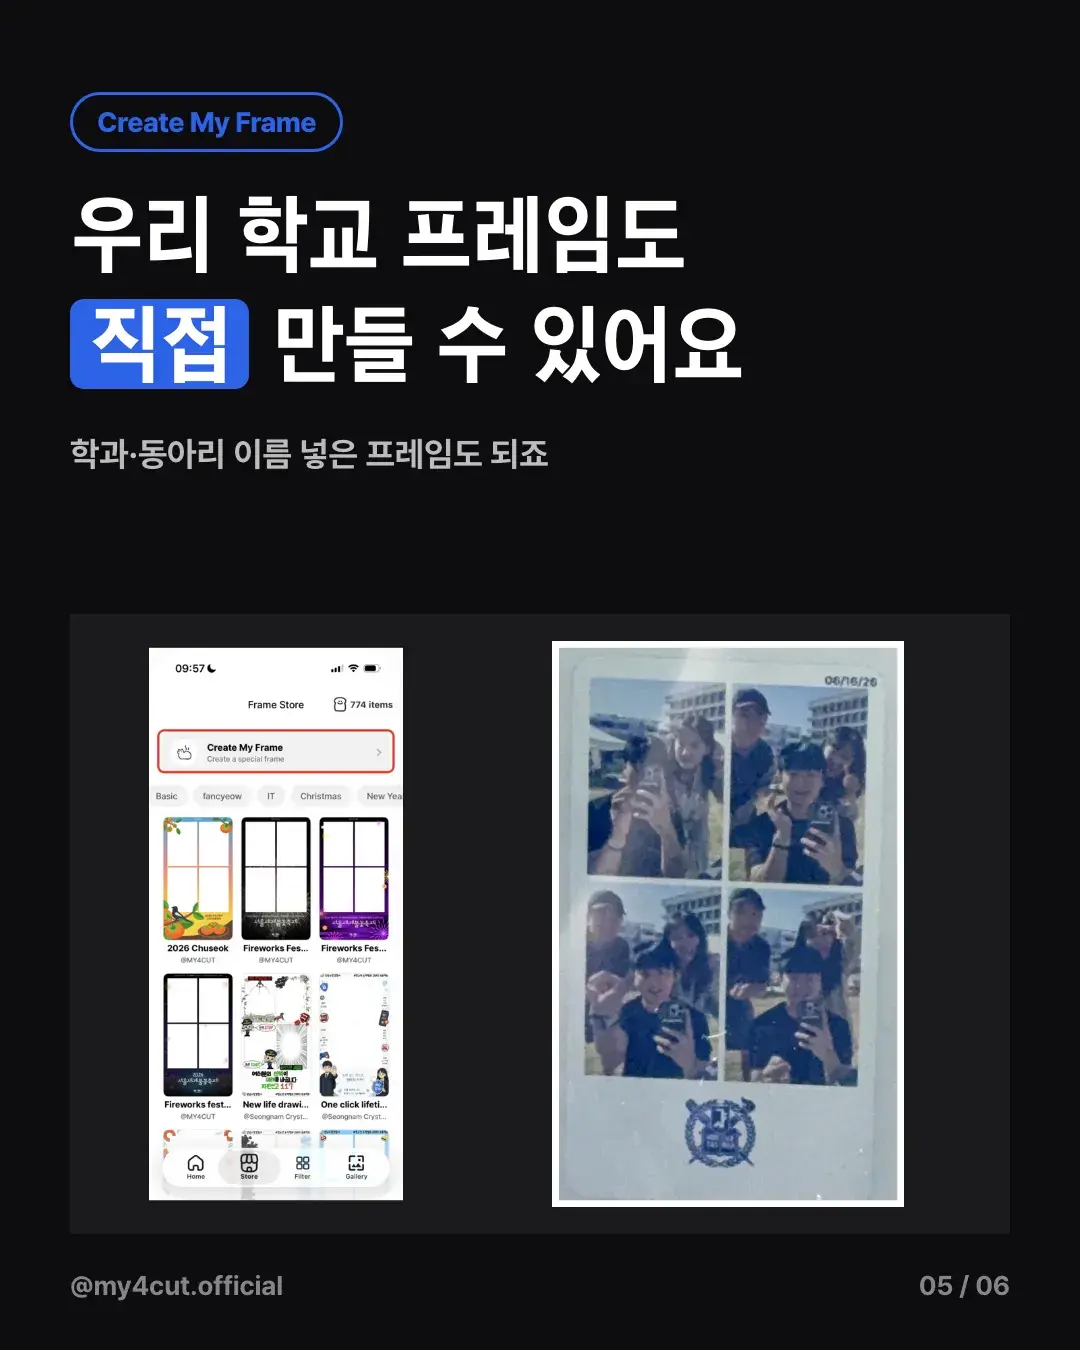
Without a computer, you can start from 'Create My Frame' at the top of the app store. On the web, open the frame maker, click 'New frame', upload a background and use 'Add straight to the app'.
- 1. Download the template ZIP from the guide and open the app frame file, my4cut-frame-app-1080x1920 (SVG or PSD)
- 2. Lock the 'Guides' group and decorate on top of the 'Base - photo holes cut' shape with your school mark and text
- 3. When done, hide 'Guides' and export a PNG with a transparent background in sRGB. Check it is exactly 1080 x 1920
- 4. In the app, open the [Create] tab, tap [Import PNG], then [Select from Files (PNG)]
- 5. The app checks the size and slot transparency. If it passes, tap [Create without editing]
- 6. On the submit screen, optionally pick a thumbnail and a 1080 x 1620 printer frame PNG (+5 bread), then tap [Create with 20 bread]
What specs does the frame need to match?
The app frame is 1080 x 1920 px (9:16). It has four photo slots of 466 x 690 each, with top-left corners at (63, 77), (552, 77), (63, 789) and (552, 789). Slot position and size cannot change. The slot shape and everything around it are up to you.
The print frame is 1080 x 1620 (2:3). Keep text and logos inside 46 px at the top, 27 px on the sides and 37 px at the bottom so nothing is cut when printing. The thumbnail is 480 x 480, and only the center circle shows in the list. Both are optional. Files are PNG, sRGB, 10 MB or less each.
The basic templates are the app frame, the print frame and the thumbnail, and there are separate examples with changed slot shapes (circle, rounded, wave, heart). If you change the slot shape, upload with 'Import PNG' in the app so the transparent areas are used as they are. The web maker re-cuts slots in the shape you pick, so a hand-drawn shape may change there. If you do not upload a print frame, the app builds one from your app frame automatically.
Three mistakes come up often. Saving as JPG loses transparency and the slots turn white. Moving a slot or cutting it larger than the slot shows a white base with no photo. Covering 85% or more of a slot makes the app flag it as blocked.
What should a department prepare before the event?
On the day, stand one iPad on the booth table and use your own department's frame. Make the frame the day before and take one test shot on the real device to make sure nothing covers the photo slots.
If you need a mini booth, there is also rental. It is 50,000 KRW a day plus 5,000 KRW shipping, and the iPad is not included. For graduation season frames, see free graduation frames.
- Day before: make the frame, check the slots on a real device
- On the day: stand one iPad, tell people photos arrive by QR code
- Check with the school or student council before using a mark or logo
Frequently Asked Questions
Can I make my own school festival frame?
What size does the frame PNG need to be?
Can the photo slots be circles or hearts?
Does making a frame cost anything?
Can I put a school logo in the frame?
Try making your school's frame
Make a PNG to the template specs, upload it to the app and your department gets its own frame.
Open the frame makerMake a frame with your own name in the app
In the MY4CUT app you can make your own custom frame and share the strip with a QR code. Free on iOS and Android.